
Over the years I have run different meetups and one question that popped up from time to time is if the meetup could be recorded. The recording is useful for people who couldn’t attend or who want to watch parts again. I tried different setups and this page represents the setup I’m using at the moment. Should parts change I will update the page.
Requirements
My requirements for the setup are as follows:
- Portable: It must easily fit into my backpack
- Support for demo session: Screen recording must be possible
- Low cost: It should not cost more than $300
- Wireless microphone: It must allow the speaker to move freely
- No / minimal post processing: No special skills are needed for the post processing
Setup
First a quick overview of my setup to see the hardware and software that I use. I will go into details later on why I picked these specific items:
- Video Recording: Logitech C922 Pro Stream
- Speaker Screen Recording: Screenflick
- Speaker Audio Recording: Stage XPD1 Headset
- Camera Stand: Magnetic Gorilla Pod
- Recording Device: Speaker Computer with Screenflick (Mac with 2 USB ports required)
Here is an example of a recording where Tyler Hannan is talking about a deep dive into Elastic Machine Learning:
How to record
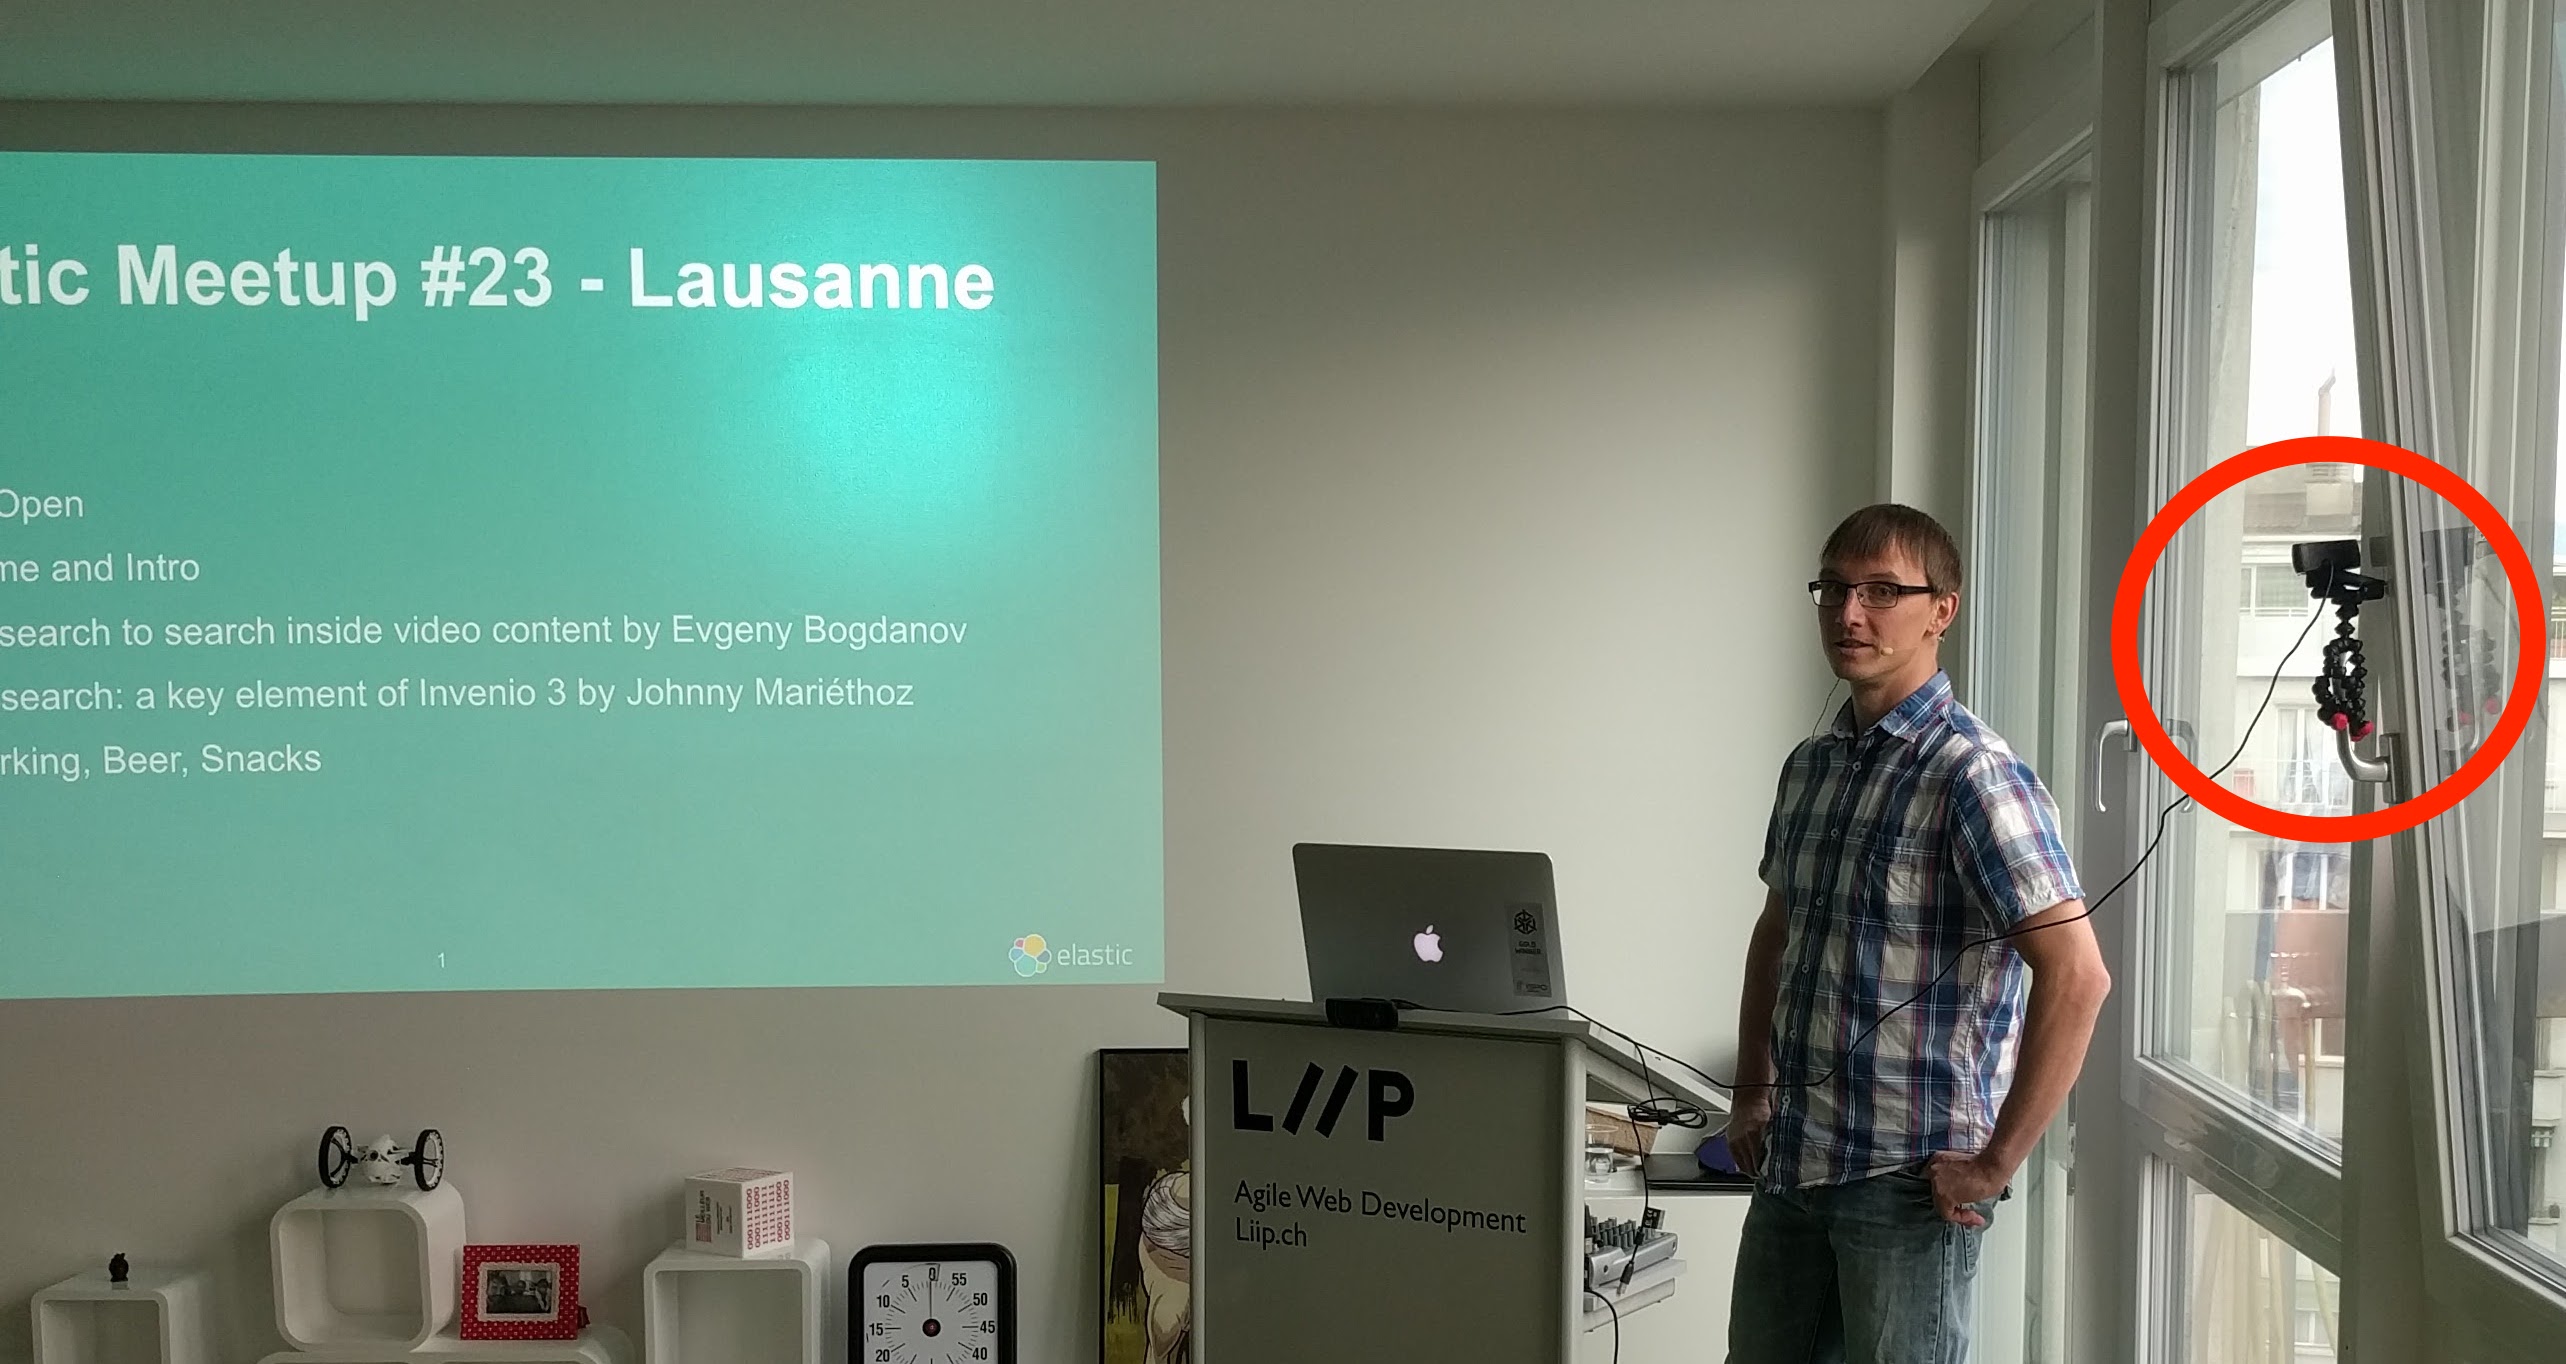
To be able to record the screen of the presenter, they must install Screenflick in advance. Before the presentations start I setup the external camera so that the speaker is in the center and the slides are in the background (if possible). As the camera stand is magnetic, it can be attached to lots of different places or grab to a window handle (see image below). Keep in mind when setting it up that the speaker may walk around or sit down / stand up during his presentation. The main limitations of setting up the external camera is the length of the cable. I always bring some tape to the meetups so I could also attach it to the wall if needed. Below is an image of one of the meetups where I attached the camera to a window handle:
After having set up the external camera, I attach it to the presenter computer. The same goes for the microphone receiver. I turn the microphone on and start up Screenflick. Screenflick must be configured to record the screen, the external camera and the audio from the wireless microphone.
A few seconds before the talk starts, I let the speaker start the recording with Screenflick. After the talk, the speaker stops the recording. After the meetup, I ask to speaker to share the recording. For this he can right click on the recording in Screenflick and show it in the Finder. From there he can send it with your preferred way to your computer.
Exporting, Processing and Publishing
As soon as you have the Screenflick file, it can be opened in Screenflick. Choose the best parameters to combine the recording of the presented with the recording of the screen. Depending on the presentations some different edges can be better to put the image in.
After exporting the video, I cut off the beginning and the end of the video either in QuickTime locally or directly online in the YouTube Video Editor. There you can also enhance the audio if needed.
To publish the videos I use a public YouTube Playlist.
Limitations
The current setup has 2 major limitations:
- It only works if the presenter has a Mac
- Recording of the Q&A is tricky and always requires the speaker to repeat the questions
As a solution I leave the Q&A part out of the video, but it becomes tricky if there are lots of questions during the talk. For Windows or Linux machines so far I didn’t find a software that is similar to Screenflick. Best would be to have Screenflick for these platforms too.
Some workarounds for the above problems can be found in the alternative setups.
Alternative Setups
Over the last years I experimented with different setups. As the above setup might not work for everyone, I want to quickly elaborate on other setups that I tried.
One Phone Setup
For some time I only used my own phone for the recording of the meetups. A gorilla stand was used to mount the phone, the Stage XPD1 Presentation was used for the recording and it was connected to the iPhone through the Lightning to USB Camera Adapter to the iPhone. For the recording on the phone I used MoviePro.
This setup works well if no screen has to be recorded and an iPhone is available. I haven’t found any good options for Android. Also make sure to attach a battery pack to your phone in case you need to record for longer periods. After the recording, the files can be transferred to the computer using iTunes.
Two Phone Setup
Before I discovered the Stage XPD1 microphone which can be connected to an iPhone, I used two phones for the recording. On one of the phones I recorded the video (the one with the better camera), the other one I connected a Lavalier microphone, started the recording and the speaker put the phone in his pocket.
This setup works pretty well if two phones are available. Especially for the audio recording, an old phone can be used. The main downside of this setup is that afterwards audio and video have to be combined, which can be painful if you don’t know much about video post processing. To make the syncing easier I normally asked the speaker to clap before they started talking, so combining the two feeds became simpler.
Decision Background for Hardware and Software
Before I settled on the software and hardware I described above, I tried out different software. In the following I want to quickly describe why I picked the above software over other tools.
Video & Audio Recording on Mac
For the video and audio recording on a Mac I picked Screenflick. There are free alternatives available like QuickTime which can also do screen recording. The biggest issues with QuickTime and other free tools was the resource usage. Recording a retina screen keeps the CPU busy on 70-80% which is not acceptable if a presenter wants to do a demo at the same time. Screenflick only uses a fraction of the CPU. The main reason seems to be that Screenflick stores the video in raw format and the processing has to be done afterwards, in contrast to for example QuickTime.
The other reason for Screenflick is that it can record the screen and a camera at the same time plus recording audio from an external source. All of this is stored separately, which allows you to export the videos and audio combined in the best way for each presentation. It seems Screenflow also has all these capabilities and many more. I sticked with Screenflick as it’s cheaper and does what I need.
Video Camera Hardware
For the video camera hardware I ended up with the Logitech C922 Pro Stream. I did several recordings with different phones and especially newer phones gave pretty good results. One main issue often was if the slides behind the speaker were bright compared to the speaker itself. The other part was about the angle of the recording if the speaker was waking around. The Logitech has a wide angle recording and it seems to deal well also in low light environments. It probably has a lower resolution than lots of phones nowadays but so far this has not become an issue. One nice benefit of the Logitech is that it can be installed on any stand or also used with a Pod to attach it to a wall.
One downside of the Logitech is that it needs to be attached through a cable to the computer, which limits its placement and it seems there is no option (anymore?) to flip the image if the camera is attached to the ceiling.
Microphone
For the microphones it was always important that they are wireless. So far my experience with the Stage XPD1 Headset and the Stage XPD1 Presentation is especially as they work just off standard USB, have a normal battery and also can be connected to phone. I tried the Presentation and the Headset of the XPD1. The main issue with the Presentation is if someone has “noisy” clothes. The disadvantage of the headset is that it’s clumsy to transport.
At one meetup where the microphone was not available we tried the MXL AC-404 which gave quite a good result even though the speaker was walking around. The benefit is that it can also be attached to the computer instead of the speaker itself.
A common problem related to microphones is questions form the audience. So far, I haven’t found a solution for this particular problem. That the speaker always repeats the question often gets forgotten and also for questions that happen in the middle of the presentation, it doesn’t always work. So far I just excluded the Q&A in the end from the recording.
Improvements
The above is only the setup I use right now. Please let me know over Twitter @ruflin if you have ideas on how to improve it or change it. Or do you have a setup that also works with Windows machines? I will keep this page up-to-date with the most recent development.